Welcome to the OtterWise documentation! This guide will help you get started with a code quality reporting platform that integrates with your GitHub repositories.
Introduction
OtterWise is a full-suite code quality reporting platform. You can track many different metrics such as code coverage, patch coverage, type coverage, complexity, and CRAP.
Creating your account
First step to using OtterWise is creating an account. This is free, and as long as you use public repositories only, it's free forever, no credit card required (private repositories are subject to a paid plan).
- Authenticate with GitHub: Currently we support GitHub as a source code provider. You can register by clicking here
-
Enable Organizations:
By default, we will enable your own GitHub profile to use in OtterWise.
If you are working in an organization (and have the privileges to manage it), you can enable more repositories while following our onboarding guide.
You can also click here to enable more organizations (this requires you to be logged in).

Enabling your Repository
-
Enable Organizations:
Navigate to the list of repositories for your organization, switch to "Not enabled" and search for the repository you want to enable. Now flip the switch at the right-most side.

- Find repository token: Click on the See Setup Instructions link, or head to your repository settings page and find the repository token. This will be used for the build script later.
Modify build scripts
It is recommended to follow the "See setup instructions" link provided from the Enabling your Repository step; however, below are some general instructions.
-
Install coverage extension:
For PHP and other languages, you must install a coverage or debugging extension such as xdebug or pcov (for PHP). This can generally be done by running a command such as the one below, as part of your build script.
sudo phpenmod pcov
-
Output coverage data:
For language specific instructions please follow the setup instructions for your repository, or see the other documentation pages. Here is an example for PHP.
phpunit --coverage-clover=build/logs/clover.xml
-
Upload coverage data:
As the last part of your build steps you should upload the generated data. The repository token can be found under your repository settings page inside OtterWise.
For GitHub Actions, use the official OtterWise action:
- name: Upload Coverage to OtterWise
  uses: getOtterWise/github-action@v1
  with:
    token: ${{ secrets.OTTERWISE_TOKEN }}
For other CI providers, use the bash uploader:
bash <(curl -s https://raw.githubusercontent.com/getOtterWise/bash-uploader/main/uploader.sh) --repo-token [your repository token]
Next steps
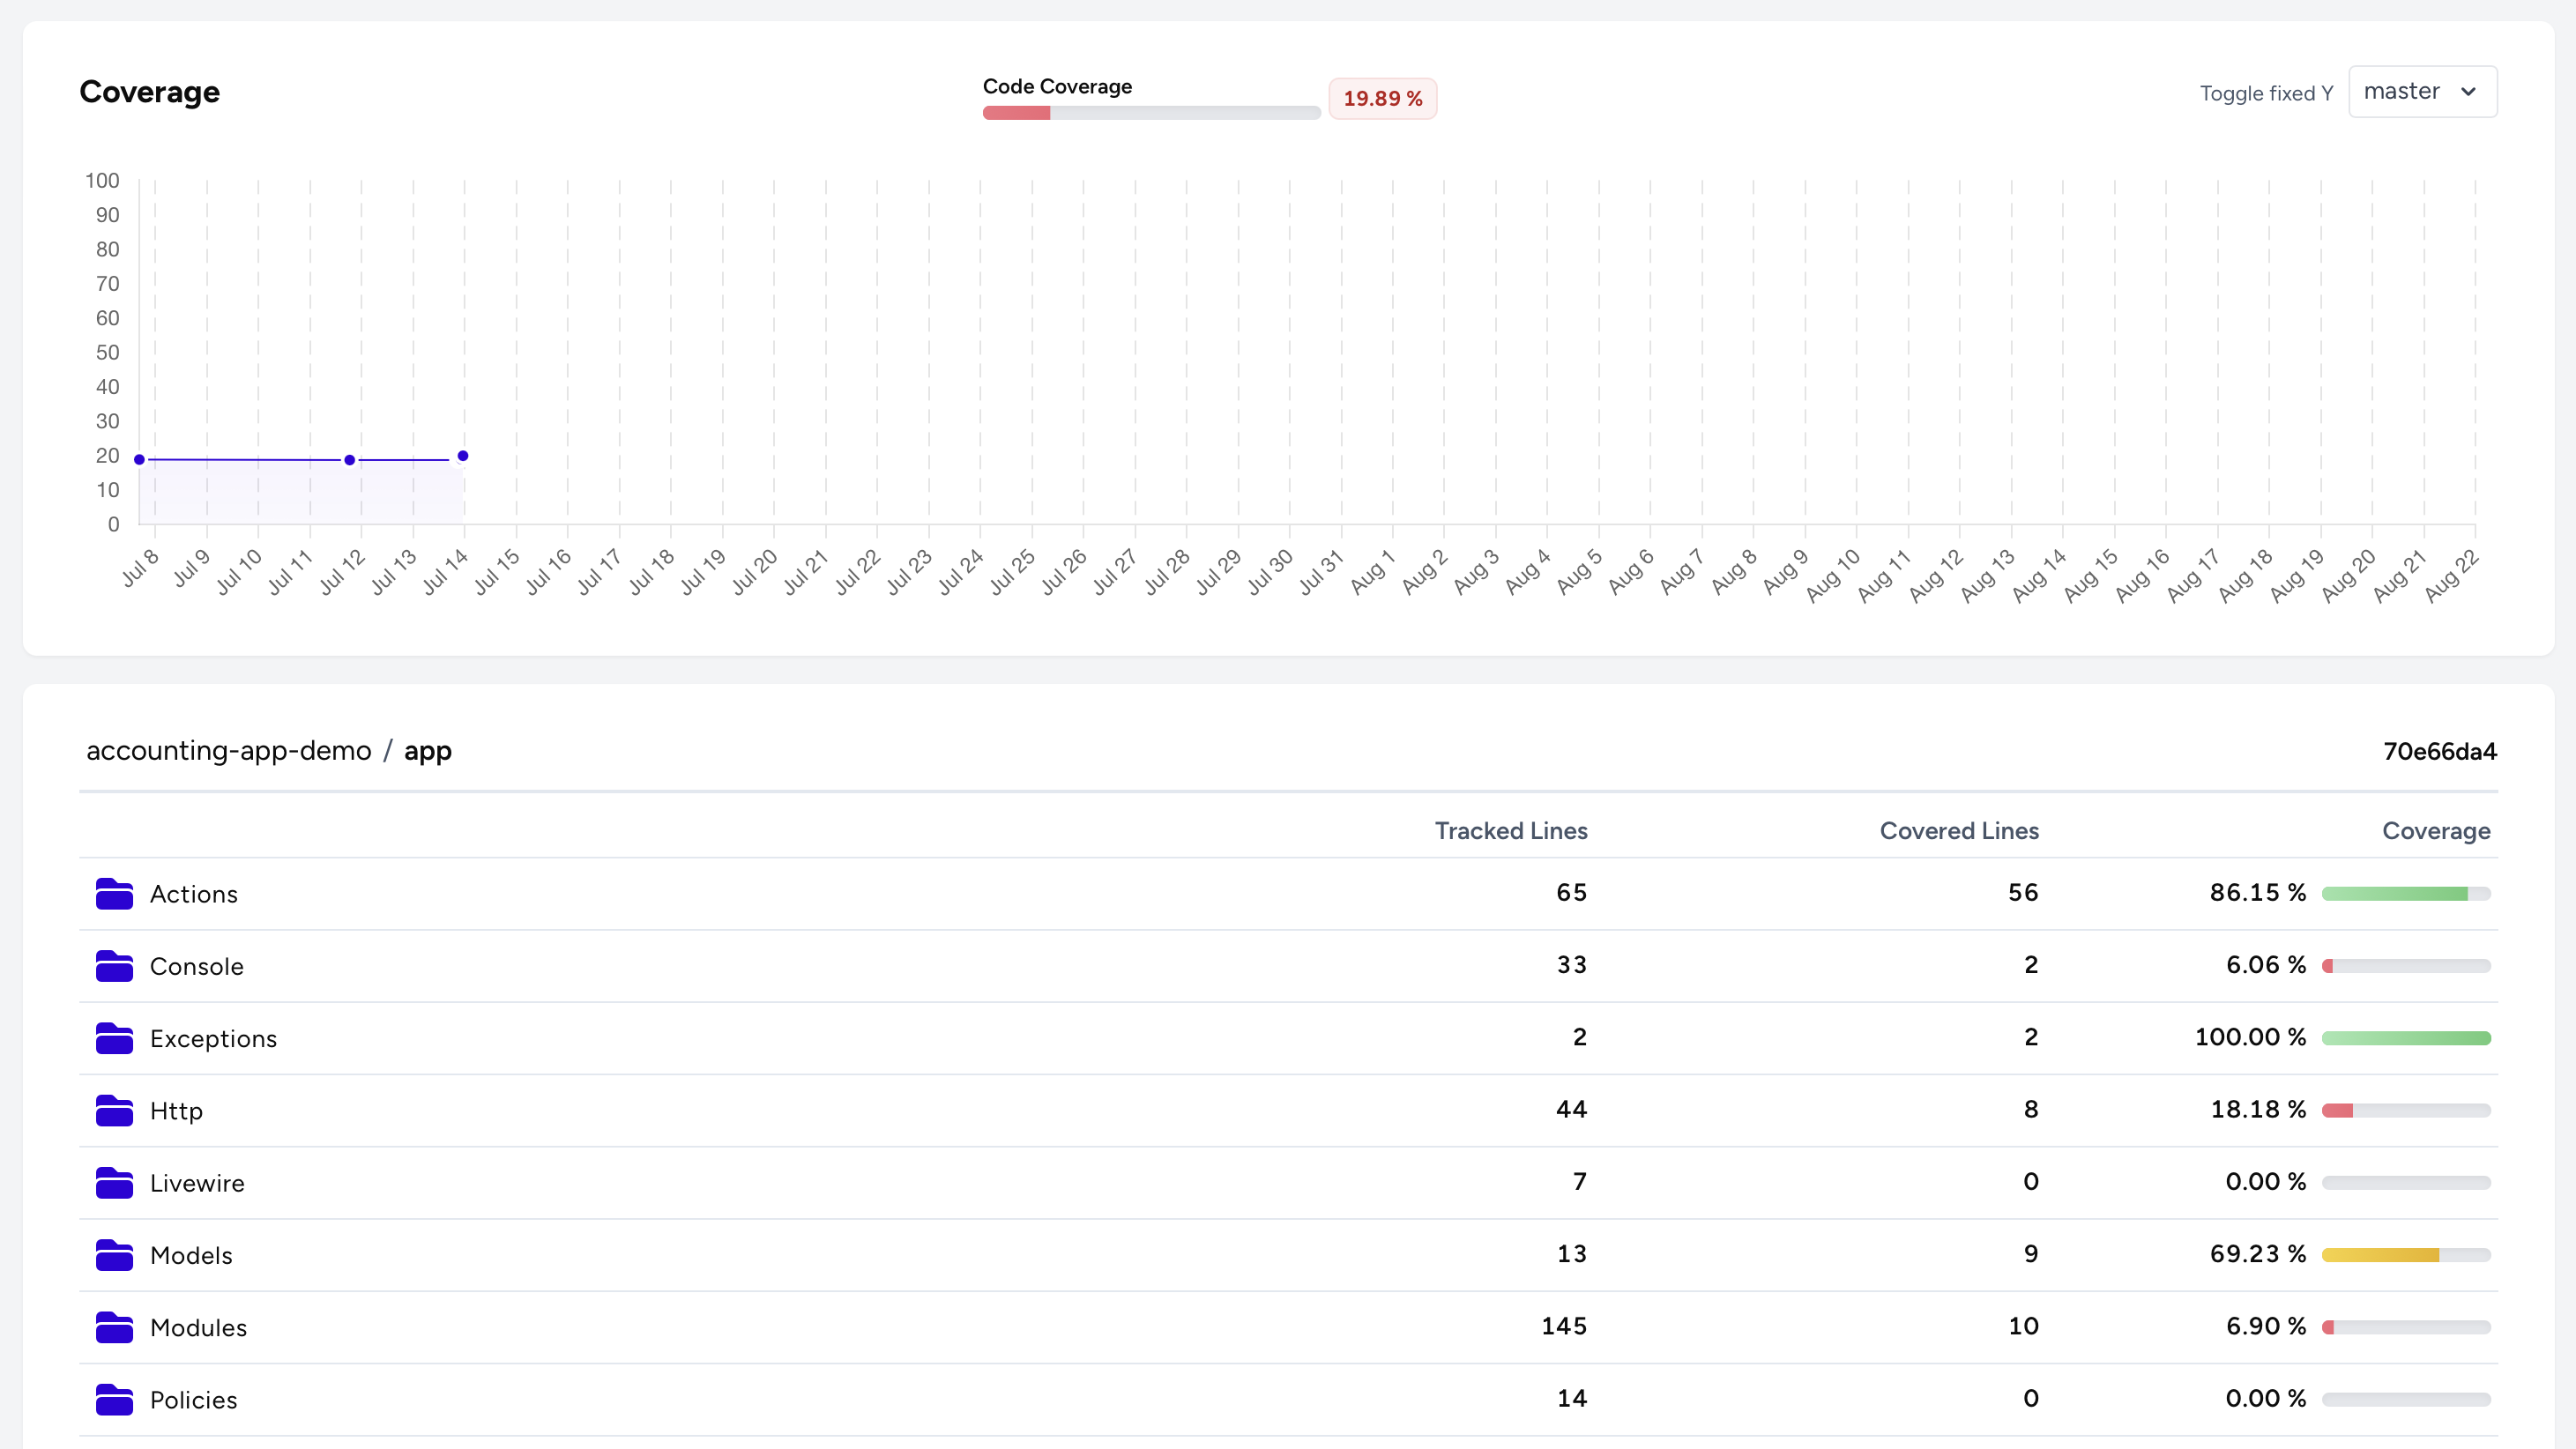
When builds successfully run, coverage data will be uploaded and you will start seeing per-file metrics as well as reporting over time, such as how your code coverage improves and which pull requests contribute to it.
Now it is recommended to configure Pull Request comments, status checks, line annotations and more to prevent bad code from making it to production again. These features can be configured per repository to trigger visibility and enforcement of your code quality standards.
Keep exploring: Learn about different code quality metrics you can track, understand CI/CD integration, or check out our comprehensive glossary for detailed explanations of testing concepts.
CI Provider Integration
OtterWise integrates with various CI providers to automate your code coverage reporting. We have detailed guides for:
- GitHub Actions - Learn how to integrate OtterWise with GitHub Actions workflows
- ChipperCI - Learn how to integrate OtterWise with ChipperCI for Laravel projects
- CircleCI - Coming soon
- Travis CI - Coming soon
We also offer more metrics you can track, such as type coverage. Here you can learn how to track type coverage metrics.
