Track Laravel Code Coverage with ChipperCI
Ensuring high quality Laravel Code with tests and CI
If you are a Laravel developer, chances are you have heard of Chipper CI. It is a great continuous integration platform built exclusively for Laravel.
In this post, I will walk you through how to set up a CI/CD workflow for Laravel on Chipper CI, and upload code coverage metrics to OtterWise, the world's first non-invasive code coverage tracking software.
Why Track Code Coverage?
Tracking code coverage ensures your codebase is well-tested, helping catch bugs before production. It shows which parts are tested and which need more attention. While 100% coverage isn't always necessary, high coverage boosts quality and reliability. Adding code coverage tracking to your CI/CD workflow with tools like Chipper CI and OtterWise automates the process and maintains high code quality.
Prepare Pest / PHPUnit for coverage
By default, PHPUnit (and Pest) will not include any files when generating coverage data, so we have to define that in the phpunit.xml file. Below is a simplified example of how your file might look today:
<?xml version="1.0" encoding="UTF-8"?>
<phpunit xmlns:xsi="http://www.w3.org/2001/XMLSchema-instance" xsi:noNamespaceSchemaLocation="https://schema.phpunit.de/10.5/phpunit.xsd" bootstrap="vendor/autoload.php" colors="true">
  <testsuites>
    <testsuite name="Tests">
      <directory suffix="Test.php">./tests</directory>
    </testsuite>
  </testsuites>
</phpunit>
We can modify this to include all the relevant files for our application, to track coverage for. In this case it is a Laravel application, so app/ would make a lot of sense to include, as files in that directory often contains business logic, which is what we are trying to cover by tests. Let's see how that would look:
<?xml version="1.0" encoding="UTF-8"?>
<phpunit xmlns:xsi="http://www.w3.org/2001/XMLSchema-instance" xsi:noNamespaceSchemaLocation="https://schema.phpunit.de/10.5/phpunit.xsd" bootstrap="vendor/autoload.php" colors="true">
    <source>
        <include>
            <directory suffix=".php">./app</directory>
        </include>
    </source>

  <testsuites>
    <testsuite name="Tests">
      <directory suffix="Test.php">./tests</directory>
    </testsuite>
  </testsuites>
</phpunit>
We have now added a <source> element, which has some includes. In this you can add or remove as needed. You can also <exclude> specific files you might not care about, this could be an internal tool that is only used locally but still sits in your app/ directory.
Read more documentation on PHPUnit <source> here.
Getting Started with Chipper CI and Laravel
-
Create an account at Chipper CI: If you do not already have an account, you must create one first. They offer a great free plan for you to try it out.
-
Configure Chipper CI workflow file in your project: Create a new
.chipperci.ymlfile in your project root, with the following content. We will review each section individually below.version: 1 environment: php: 8.3 services: - mysql: 5.7 on: push: branches: .* pipeline: - name: Setup cmd: | cp -v .env.example .env composer install --no-interaction --prefer-dist --optimize-autoloader php artisan key:generate - name: Test cmd: phpunitI will split this into 3 sections:
- Environment, Services
- Trigger (”on”)
- Pipeline
In Environment and Services we define under what configuration our CI will operate, such as MySQL or Postgres version, PHP version, extensions and such. You can review the entire documentation here.
The trigger (”on:”) defines what and when to run the workflow. In the above example I have made it run on all commits on all branches. You can also have it run only on pull requests, towards certain branches, and much more.
Now for the most important aspect: Pipeline. This is a list of commands to run as part of your workflow. For the above I have 2 commands: Setup and Test. Setup essentially prepares a base Laravel installation for running, and Test runs the testsuite as defined in
phpunit.xml. -
Create Project in Chipper CI: Now head to https://app.chipperci.com/projects and click “Create Project”. Here you get the option to pick source code provider, pick the one that your source code is stored in. OtterWise currently supports GitHub. Follow the instructions to set up your project / repository.
-
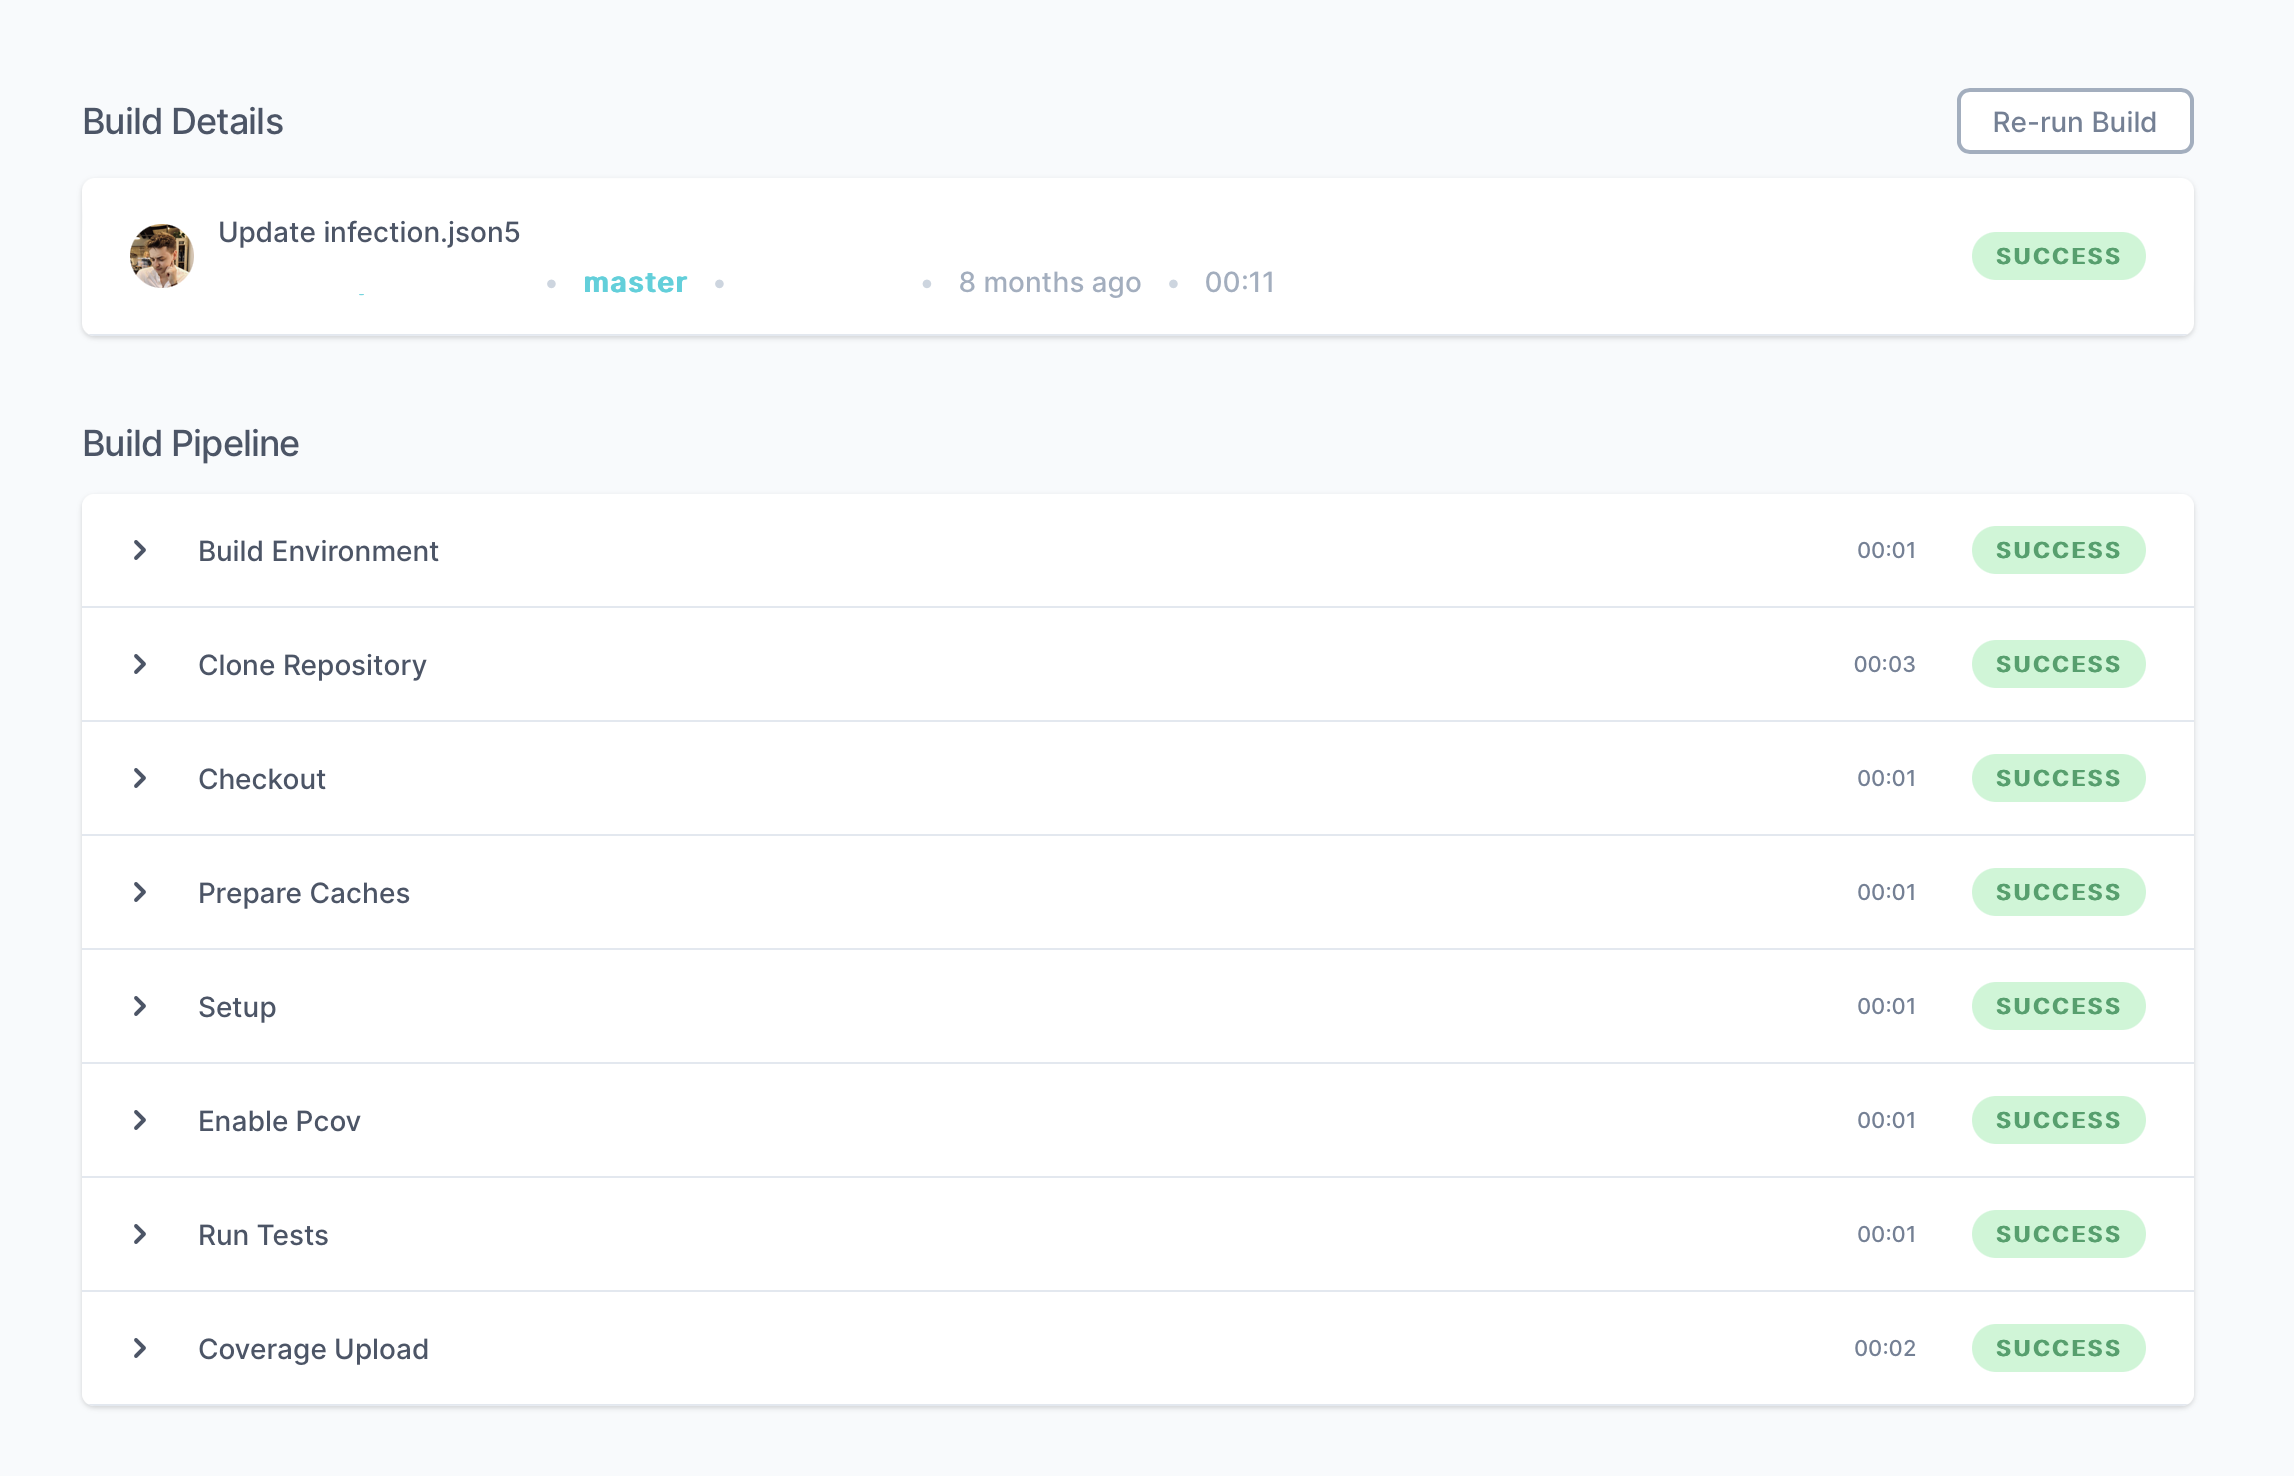
Push a commit: After you have setup your project, you can try pushing a commit. You should see that Chipper CI picks up on it and triggers a build, click on it and follow the steps as they run to ensure things operate smoothly.
Tracking Code Coverage with Chipper CI and OtterWise
-
Create an account at OtterWise: To upload code coverage metrics, you must first create an OtterWise account. For public repositories this is free forever, private repositories require a paid plan.
-
Enable Repository in OtterWise: Find your relevant repository in OtterWise and toggle the “Enable” switch. Click the “Show instructions” link that appears.
-
Show instructions for Chipper CI: We offer a video guide as well as text guide with steps how to enable OtterWise and Chipper CI Code Coverage upload. If you follow them you will be asked to add the OtterWise token inside Chipper CI as well as modifying your script. To make it a bit clearer, I have added the
.chipperci.ymlexample from before but with necessary modifications:version: 1 environment: php: 8.3 services: - mysql: 5.7 on: push: branches: .* pipeline: ##### This step is added ##### - name: Enable pcov cmd: sudo phpenmod pcov # replace pcov with xdebug if needed - name: Setup cmd: | cp -v .env.example .env composer install --no-interaction --prefer-dist --optimize-autoloader php artisan key:generate ##### This step is modified ##### - name: Test cmd: phpunit --coverage-clover=build/logs/clover.xml ##### This step is added ##### - name: Upload Coverage cmd: bash <(curl -s https://raw.githubusercontent.com/getOtterWise/bash-uploader/main/uploader.sh) --repo-token $OTTERWISE_TOKEN -
Push a commit / Trigger a build: You are now ready and you can trigger a build by pushing a commit (this might have already happened from updating your
.chipperci.ymlfile). -
Browse Code coverage information inside OtterWise: Once Chipper CI finishes the build steps, you should be able to see code coverage by logging in to OtterWise and clicking your repository. Once you have submitted multiple builds, you should start seeing charts displaying the changes and trends in coverage over time.
What’s Next?
With OtterWise handling your code coverage tracking, and Chipper CI handling your builds with minimal set up, you can focus more on coding and writing tests, less on worrying about breaking changes. If you are up for further monitoring code quality you can also set up Type Coverage tracking with Pest.
